Let me just start out by saying that I know croissants are SUPER intimidating, but don’t be scared! They are actually not overly complicated to make, just very VERY time consuming.
Where to Start?
Croissants are just a few basic ingredients – butter, flour, sugar, salt, milk and yeast – so there shouldn’t be too many variables out there. The biggest differences I noticed had to do with techniques for turning, folding, and shaping the dough. You can check out some links below to get my tips on getting the best croissants possible.
The biggest variation from one recipe to another is the amount of flour used. Too much flour and your dough will be overdry, leading to cracks and breaks when you fold and roll. Not enough flour and your dough will be too sticky and hard to work with.
One other quick note about ingredients. I know I dropped the word yeast back there and then breezed right past it, did it scare you as much as it did me at first? I’ve never worked with yeast before and I wasn’t really sure what to expect. I know yeast is used in bread, and I know it affects taste and texture, but I don’t really know how any of it works. To be perfectly honest – I still don’t, HA!
Here’s what I do know. For these croissants we’re going to use an Active Dry Yeast. This means it will begin to react once it’s mixed with a warm liquid (we’re using milk). It’s going to start “blooming” after just a minute or so. You’ll start to see some bubbles and then what looks sort of like moss covering the top layer of liquid after about 5 minutes. This is good!
In front of your own eyes you’ll see yeast is already expanding and changing. While keeping the dough chilled as you work it for the first day slows the process, you will notice the dough puffing up each time you let it rest between turns. It’s pretty cool to see!
At the final step before putting your croissants in the oven, we change directions and go from slowing the process with chilling to jumpstarting the process by “proofing”. The croissants are rested, gently covered, for about an hour in room temperature. As the yeast warms the fermentation process kicks into gear and releases gas (a process called proofing). POOF! Your dough will grow like it’s alive (and yes, yeast is actually alive), nearly doubling in size in just an hour.
What to Expect From the Recipe
This recipe isn’t about advanced techniques or even having a super delicate hand. It’s about timing and patience. Here’s a basic overview of the process:
Prepare the Butter Slab and Chill
Make the Dough
Chill and Rest the Dough
Layer the Butter and the Dough
“Turn” the Dough 3-5 Times
Chill and Rest the Dough Overnight
Shape, Roll, and Rest the Dough
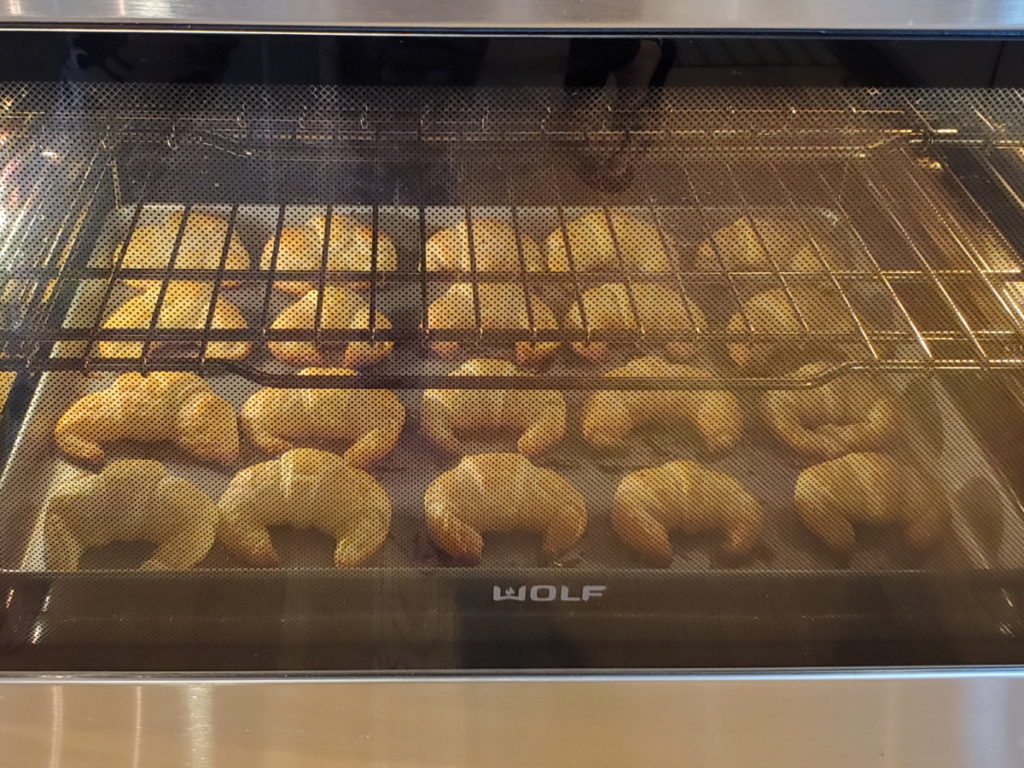
Bake Your Croissants!
The most important factor is just to keep track of your timing and make sure your dough never gets too warm. You can see from the breakdown above that most of the time with this recipe is spent chilling and resting the dough.
The majority of the work in croissant baking – and I’m guessing baking most pastries in general, I’ll keep you posted as I try them all! – is rolling out the dough. Making the dough takes all of 15 minutes once you’ve got the ingredients together; and croissants only bake for about 25 minutes or so. This means that the other 12-14 hours, yep you heard right – HOURS, is filled up with rolling, resting, and chilling.
I planned my bake for the weekend and started to make the dough Saturday afternoon, then woke up bright and early Sunday (like 7ish) so my croissants were out of the oven and ready to eat for breakfast at 9am!
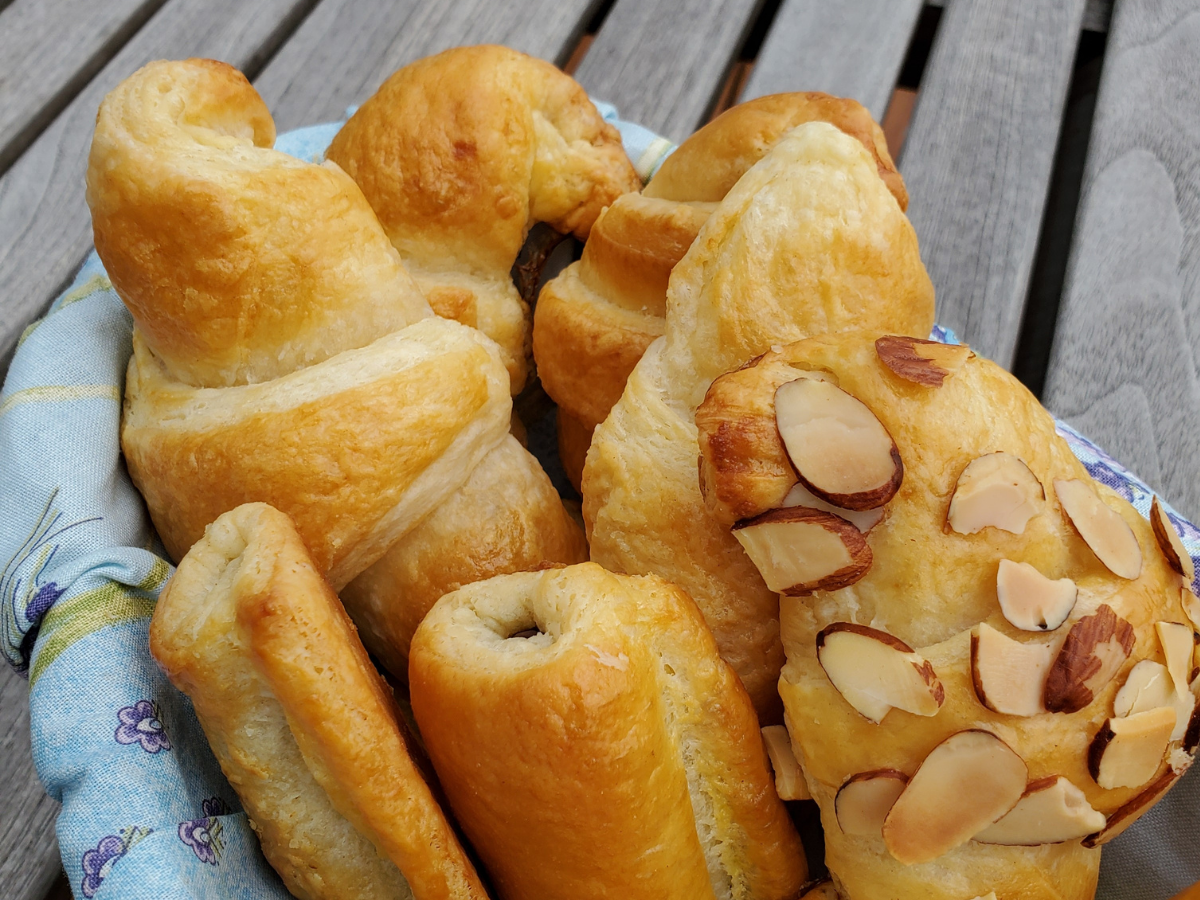
Croissants are a great activity for a rainy weekend or when you just want to settle in and spend some quality time in your kitchen.